 About
About Job Board
 Blog
Blog Contact
 Shop
Shop Payments
 Membership
 Accreditation
 Resources
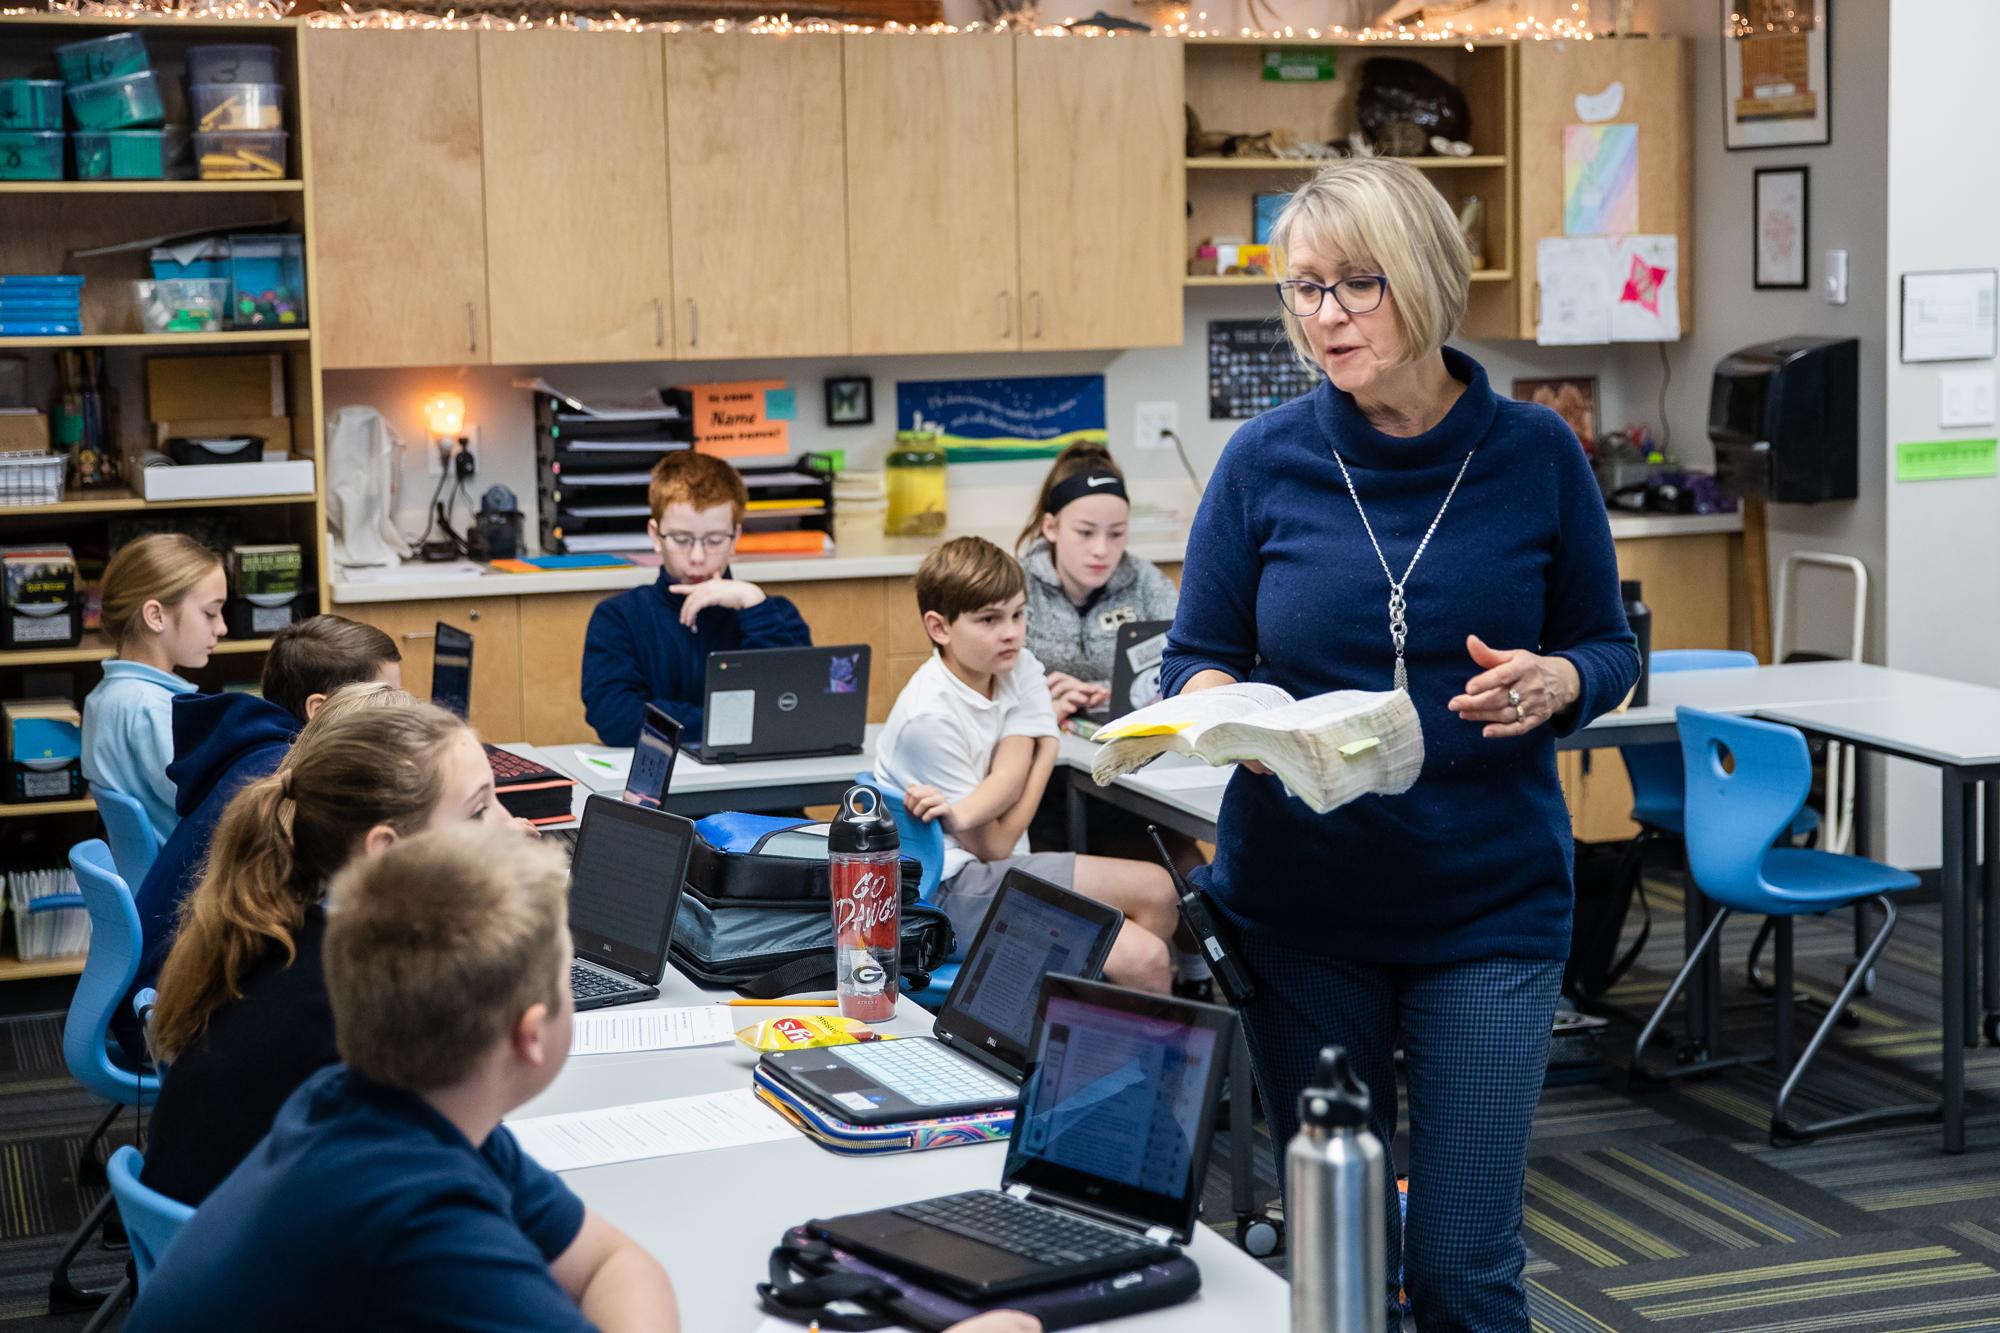
Combining text and images to create visually-compelling notes is growing in use. Science teachers have long used flowcharts and sketches of the microscope, while English teachers have students illustrate a story. What about the Bible classroom? How is visual notetaking helpful?
Having heard from a number of teachers, I sat down with Alice Sikkema, a fifth-grade teacher at Chattanooga Christian School in Tennessee, to hear how she uses visual notetaking in the Bible classroom. She shared student samples while we brainstormed ways that using visuals inside graphic organizers can aid learning and memory.
Alice and I also discussed our favorite graphic organizers provided in CSI’s Bible curriculum—Alice from the grades 4–6 material and me from grades 9–12. In fact, a major addition to the CSI High School Bible Curriculum was the extended set of visual notes interwoven throughout the Old Testament/New Testament survey, helping students orally narrate the entire biblical story. The visuals become an anchor for explaining particular through-lines that run from Genesis to Revelation, such as “kingdom,” “temple,” and “exile.”
Here are six takeaways from my conversation with Alice on using visual notes in the Bible classroom.
1. Prepare to Defend the Doodle!
You may hear grumbles of “I can’t draw!” or “I prefer ‘normal’ notes.” But word- and text-focused approaches are not in competition with images. Every teacher needs to introduce content, review it, and master it, thus repeating it several times. Graphically organizing the ideas in at least one of these stages will help different kinds of learners in your classroom and strengthen recall for everyone. Alice has seen firsthand the benefits of “dual coding” (switching between words and pictures). “When I explain the image’s significance to students, it embeds the information in a new way and becomes a hook for recall,” she shared.
Share with your students that spatial memory is linked to excellence in memorizing. Memory experts from ancient to modern times have agreed that a leading strategy is to use some method of visualization: Where was the information located on the page? In the map? Can you “picture” it? Brain scans of superior memorizers show that 90 percent of them rely on spatial memory techniques! Even text-only Roman numeral outlines arrange information in a visual structure so that your eye is drawn to key ideas and your brain can remember how many points followed each heading.
2. Combine Brief Text with Hand-Drawn Doodles
Some visual notes are organized blocks of text with just a few images, while others are comprised largely of images, with minimal text. Either way, the key is to keep text brief and organized spatially on the page, using symbols here and there as anchors. Reassure students that we don’t have to be artists to doodle something recognizable. In Pictionary, do we spend time making a realistic sketch? No. A simple doodle that taps into recognizable symbols is the one that wins. Have students practice doodling a set of images. Afterward discuss: How did they depict each one? What symbols did they use?
Explain that learning to sketch is also a worthwhile pursuit! We are each aesthetic and creative beings as image-bearers of God. In our tech-driven age, we should continue to champion skills of drawing and writing by hand, as part of our human design. We also engage better with our image-oriented culture, when we practice visual communication.
3. Use Minimal Colors, Perhaps Choosing Pen over Pencil
When getting started in visual notetaking, it may be best to work quickly and avoid perfectionism. The point is to learn a notetaking skill that can be used anywhere—whether a church bulletin or a Starbucks napkin. Black pen may be best for helping students just “jot” and not try to perfect their work. Of course, for a special project, pencils, colored pencils, or watercolors may produce a beautiful and polished end-product. But to create visual notes at the speed of a lecture, paper and 1–3 colors of pen are usually the best tools.
4. Model a Suggested Image, at Least at First
To overcome the hang-up of “not knowing what to draw,” Alice starts by modeling an image for students to imitate. “I use simple stick figures that all students can successfully draw, and those who are creatively inclined love adding their extra flourishes. A quick internet search offers a plethora of ideas. A simple crook in the arm or an eyebrow line slant can depict all sorts of actions.” The resource included with this article shows stick figures Alice projects to convey different emotions. Encourage students to make their own variations! Display student work on the screen so they see that there is no “one” right way to make visual notes. “Take suggestions from students about what should be drawn,” Alice recommended. “Students’ input is one way they can take ownership and seal the truth being taught into their hearts.”
Once students have developed a bank of common images, try creating quick visual notes along to an audio of a chapter of Scripture. Choose a story that is less familiar and explain that our goal is not the notes: “Our goal is to retell the story precisely, after just one hearing. Your notes are your memory device!” After the story, give students a minute to study their diagram, and then have them recreate the story on paper or orally for a partner. Can they remember more by mentally picturing their diagram? Can they remember the chain of images, even without their notes?
5. Consider Various Places to Use Visual Notes in the Learning Cycle
You may want to use visual notes:
- To accompany a first encounter with the text. Listen to an audio of Scripture, quickly “mapping” the ideas. This keeps students engaged while listening and is an aid in retelling the story.
- As a second pass through the text. If students’ first encounter with Scripture was sitting around a storyteller or marking up an open Bible, then have students create visual notes afterward. This will help them logically arrange and remember what they heard.
- To accompany an extended retelling. To solidify a long series of connections, have students retell a story while drawing a specific image-diagram (see CSI’s video.) You can incorporate lots of review of the same series by having students give their oral/drawn narration to one another. This will let them hear the same sequence several times, while staying engaged by watching different versions of the drawings. It is a great way to work on essay responses without extended writing.
- For relaxed reflection and enjoyment. Learning cannot always be fast-paced; it should also be leisurely and enjoyable (see scholé). In quiet moments, Alice has seen students depict truth in beautiful, profound and even stunning ways. “I’ve found great delight in seeing students express their understanding of God’s truth through pictures,” Alice said. “One fourth grade drawing of ‘fully relying on Jesus’ took my breath away, and I still have that drawing to this day.”
6. Prepare to Enjoy!
Visual notes can help abstract ideas become more concrete but also more profound. Consider the image of a lamb in place of a human—it clarifies a complex term like “substitutionary atonement” but also links to all the Bible’s imagery on sheep.
The Bible uses far more concrete images than we often give it credit for! Consider how it describes God as “shepherd,” “father,” and “king.” Biblical Theology has shown that we can tell the Bible’s story—not just through abstract words like “sin” and “holiness”—but also through concrete visuals like “tree of life” and “holy land.”
The success of The Bible Project hinges on this point: Rich theology is more accessible when we can see connections in the Bible. Hamilton District Christian High School teacher David Grills said, “We can connect parallel thematic ideas from different sections of Scripture through a single cohesive visual.” For instance, David visually connects Pentecost to Babel, showing that Pentecost is the reversal and redemption of Babel.
I also spoke with Linda Jonker, kindergarten teacher at Grand Rapids Christian Elementary School – Iroquois Campus, about her use of visual notetaking in the classroom. “When I started using visual notes, I found children’s engagement and recall of details so much greater. Students were more actively listening and contributing to the story. Now they beg, ‘Mrs. Jonker, will you please draw the story?’”
Written by Heidi Dean

Students listen, read, and visually record the passage in Alice Sikkema’s Bible class.
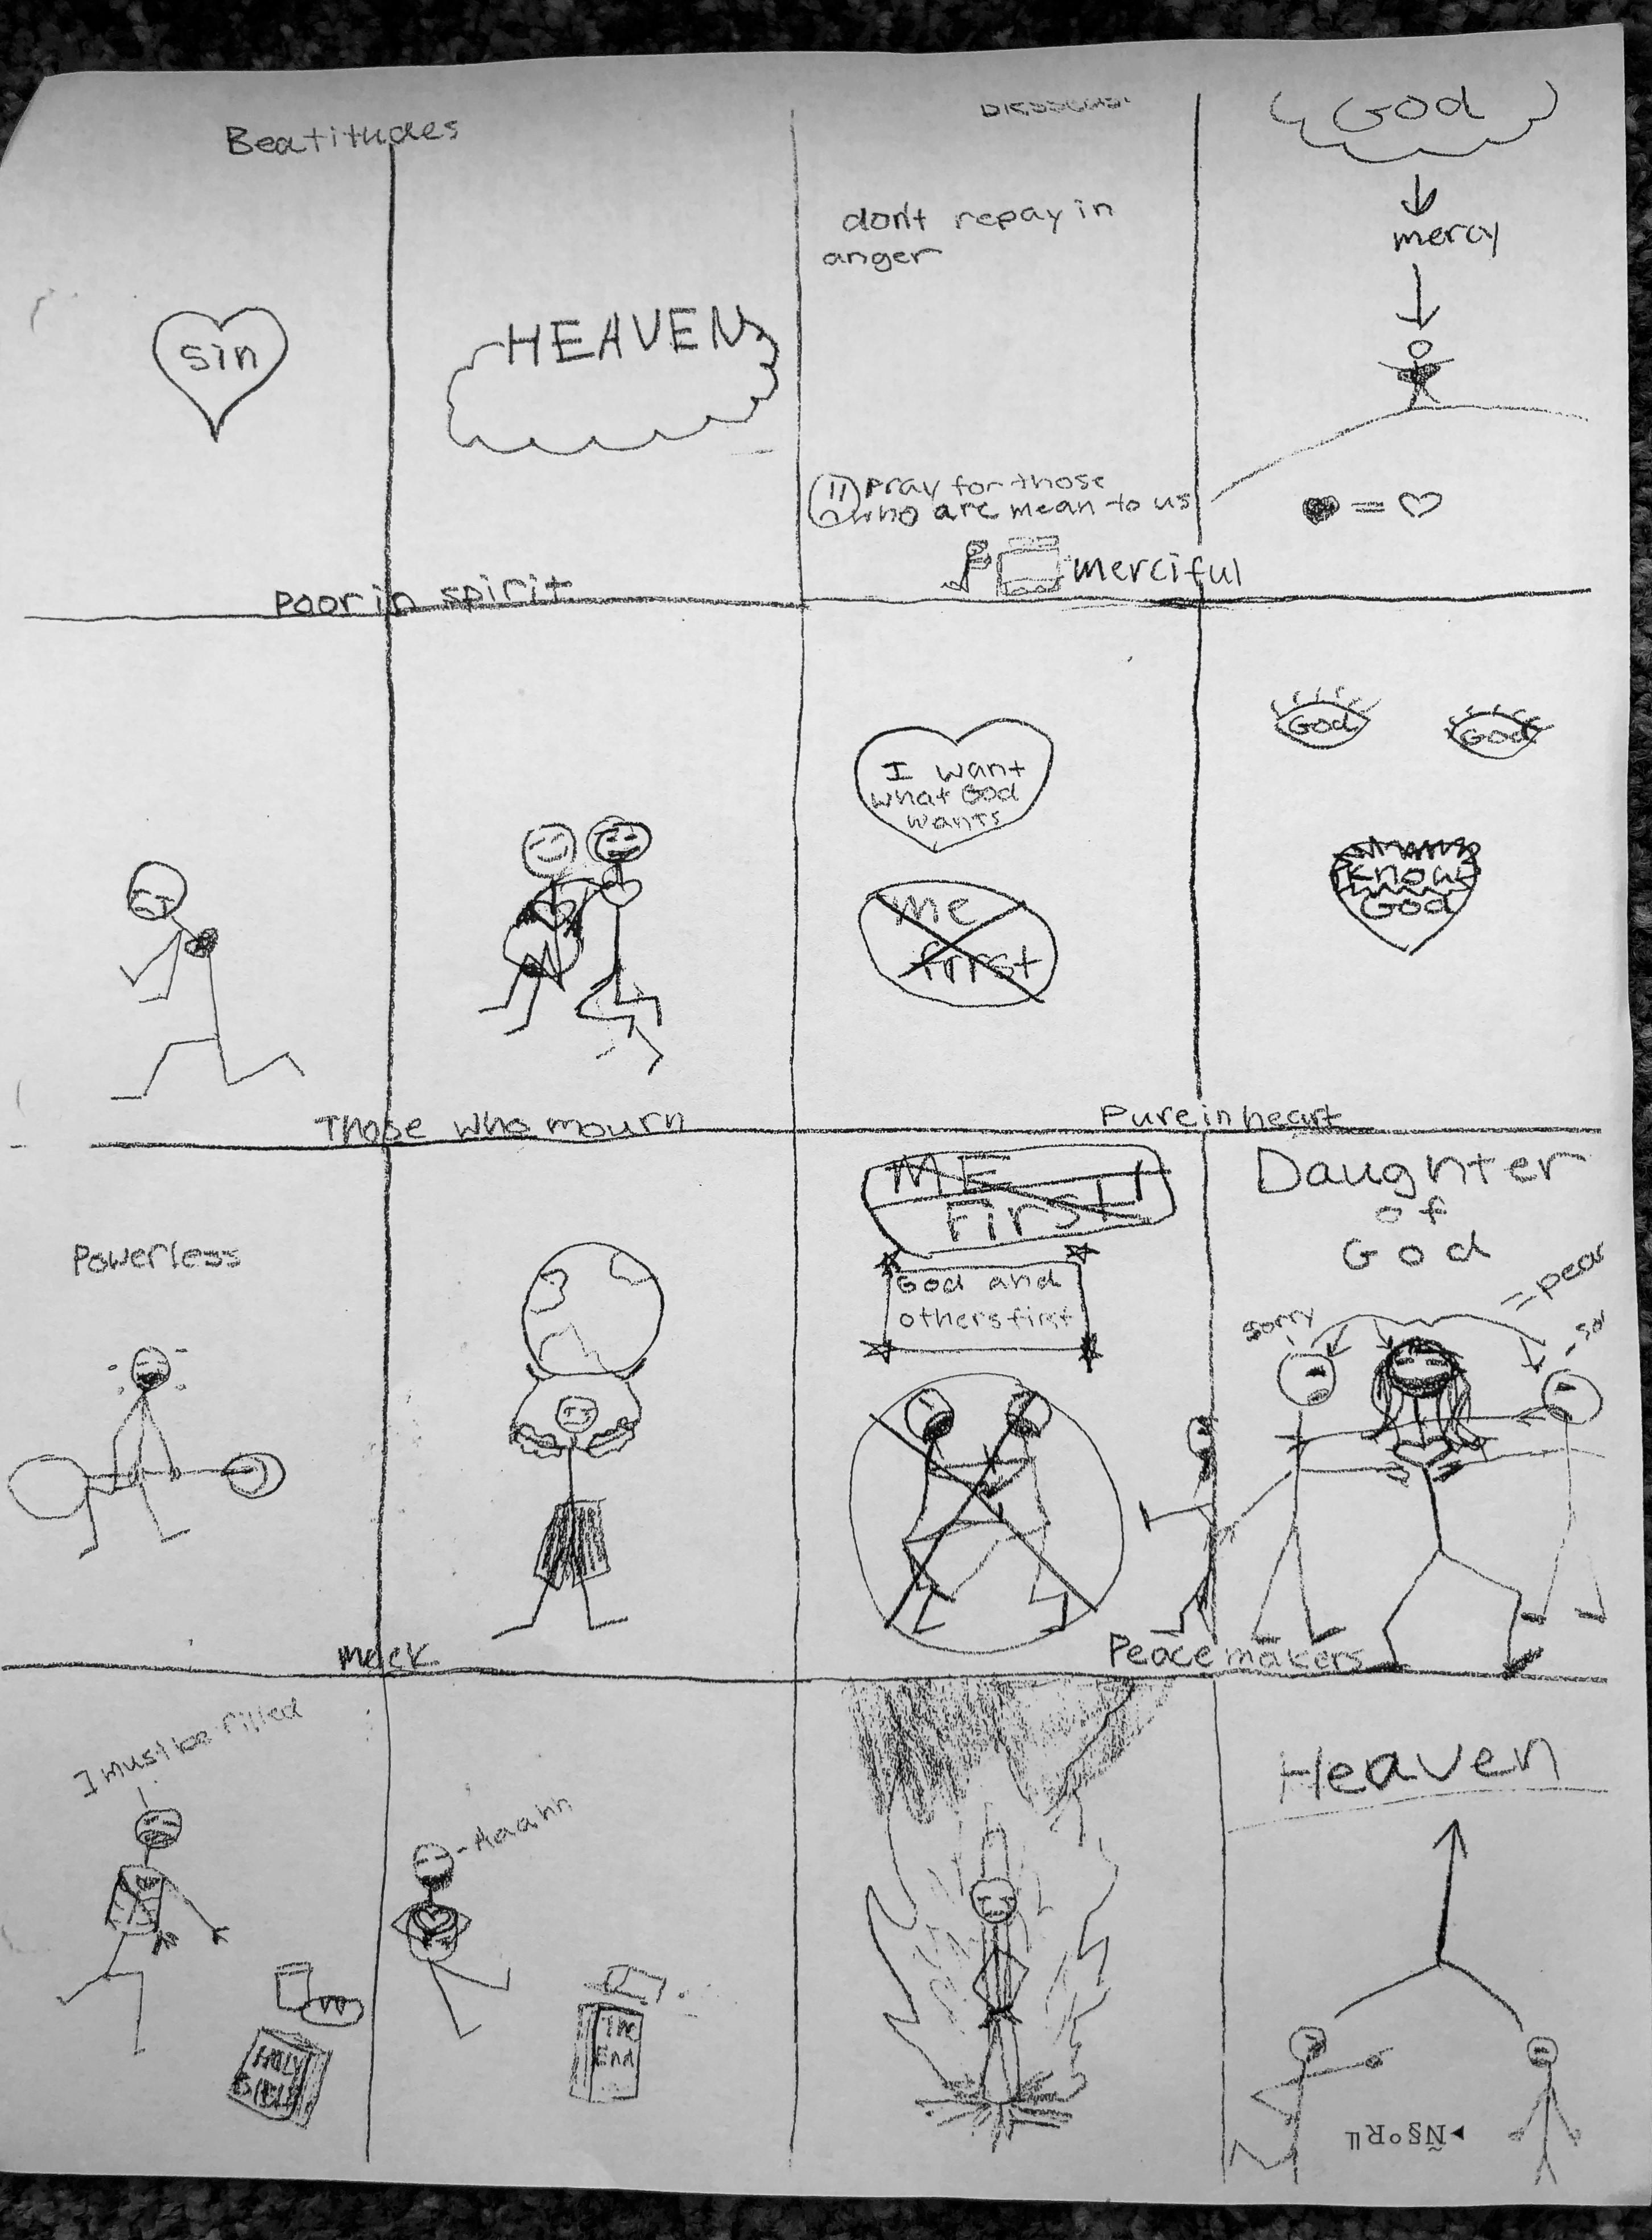
A student at Chattanooga Christian School depicts the Beatitudes, for better understanding and an aid to memory.

Visual notes can be drawn while telling a Bible story. (Linda Jonker, Grand Rapids Christian School – Iroquois Campus).
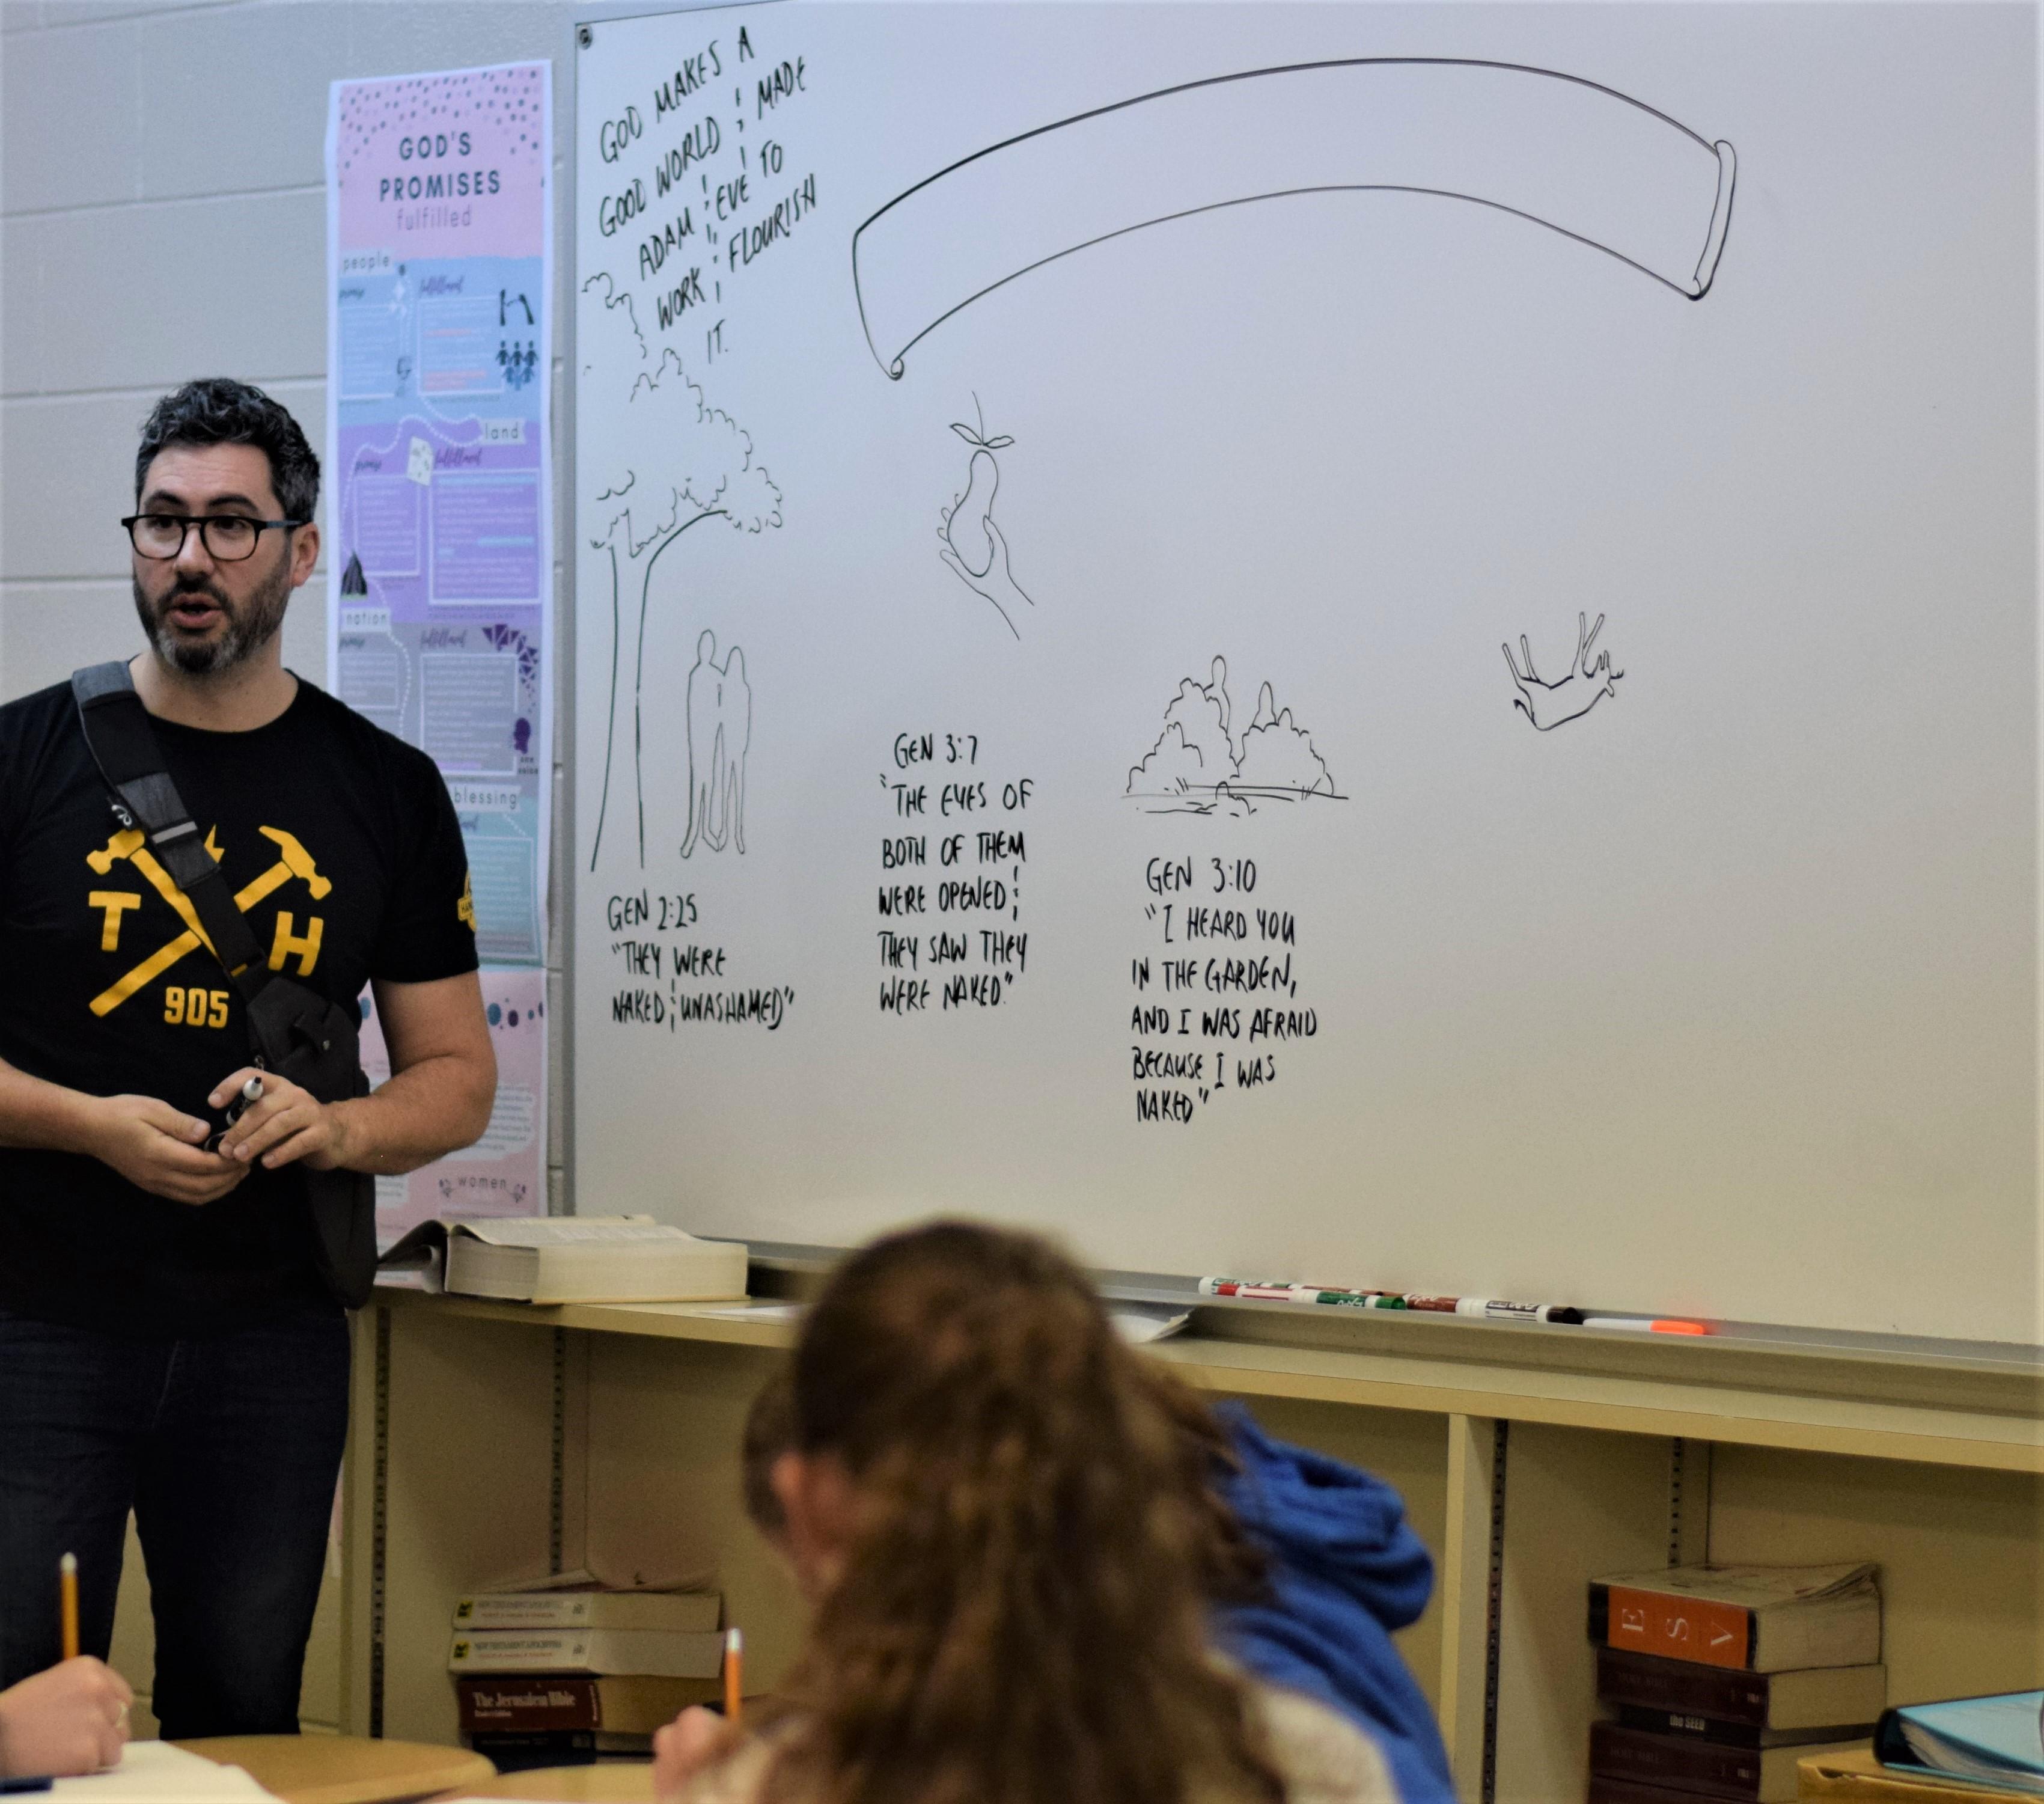
Hamilton District Christian School teacher David Grills finds that students remember the image of a slain animal in Genesis 3:21, helping them connect to the idea of atonement.

Nancy Guthrie shows that we can tell the Bible’s entire story through concrete visuals like “wildness,” “tree,” “clothing,” and “city.” Not sure how? Purchase her book! It will ignite the imagination.
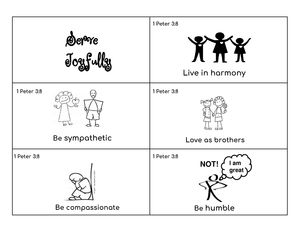
Visual Notetaking Resource
Alice Sikkema shows how to depict biblical passages and ideas with stick figures. Try these with your students!